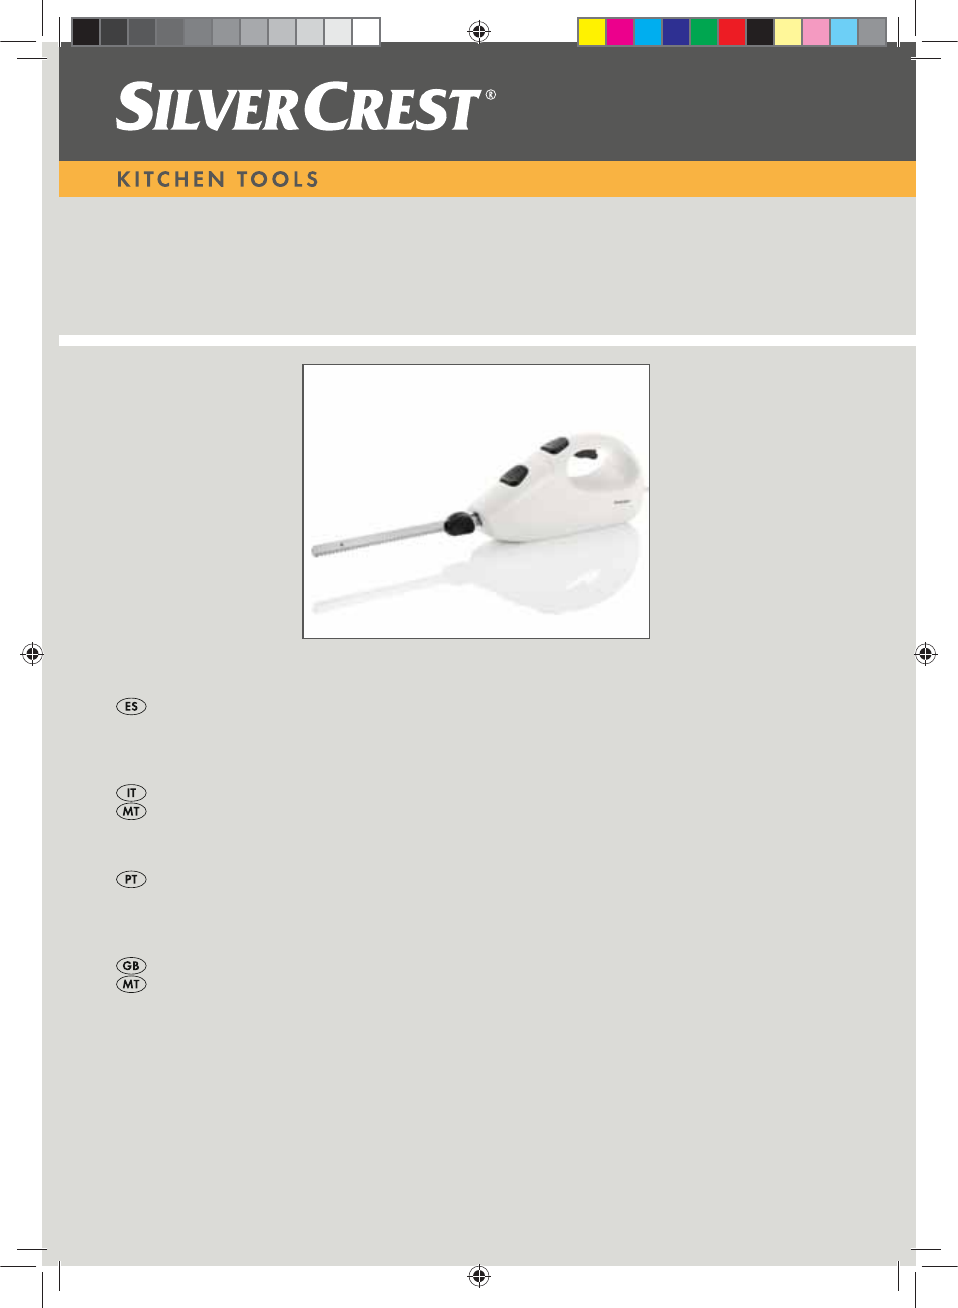
Silvercrest SEM 250 A1 User Manual
Browse online or download User Manual for Knives Silvercrest SEM 250 A1. Silvercrest SEM 250 A1 User Manual
- Page / 34
- Table of contents
- BOOKMARKS
- ID: SEM-250-A1_11_V1.0 2
- Vista general 4
- 1. Indicaciones de 5
- 2. Volumen de 6
- 3. Montaje y desmontaje 6
- 4. Manejo 7
- 5. Limpieza 7
- 6. Eliminación 8
- 7. Solución de 8
- 8. Datos técnicos 9
- 9. Garantía 9
- Panoramica 10
- 1. Istruzioni per la 11
- 2. Materiale in dotazione 12
- 3. Inserimento e 12
- 4. Funzionamento 13
- 5. Pulizia 13
- 7. Risoluzione dei 14
- 8. Dati tecnici 15
- 9. Garanzia 15
- Visão geral 16
- 1. Indicações de 17
- 2. Material a fornecer 18
- 3. Montagem e 18
- 4. Operação 18
- 5. Limpar 19
- 6. Eliminar 19
- 7. Solução de problemas 20
- 8. Dados técnicos 20
- 9. Garantia 21
- Contents 22
- Overview 22
- 1. Safety information 23
- 2. Items supplied 24
- 3. Fitting and removing 24
- 4. Operation 24
- 5. Cleaning 25
- 6. Disposal 25
- 7. Troubleshooting 26
- 8. Technical 26
- 9. Warranty 27
- Übersicht 28
- 1. Sicherheitshinweise 29
- 2. Lieferumfang 30
- 3. Montage und 30
- Demontage der Klingen 30
- 4. Bedienung 30
- 5. Reinigen 31
- 6. Entsorgen 32
- 7. Problemlösungen 32
- 8. Technische Daten 33
- 9. Garantie 33
- ,$1 34
- +R\HU+DQGHO*PE+ 34
- .¾KQHK¸IH 34
- '+DPEXUJ 34
- 6(0$B Ɇ,$1 34
Summary of Contents
&XFKLOORHO«FWULFR6(0$&ROWHOORHOHWWULFR6(0$&XFKLOORHO«FWULFR,QVWUXFFLRQHVGHVHUYLFLR&ROWHOORHOHWWULFR,VWUX]LRQLSH
8 ITIndice1. Istruzioni per la sicurezza ... 92. Materiale in dotazi
9IT1. Istruzioni per la sicurezza• Leggere attentamente le presenti istruzioni per l'uso prima di mettere in funzione l'apparecchio per la
10 IT• Durante l'utilizzo dell'apparecchio fare attenzione a non tagliare il cavo di ali-mentazione.• In caso di danni al cavo di collega-me
11IT4. FunzionamentoPERICOLO! Non toccare l’appa-recchio con le mani bagnate.• Tagliare sempre in direzione opposta al corpo e mai in direzione di un
12 IT4. Pulire singolarmente le lame in acciaio inossidabile 7 con detersivo per stovi-glie.5. Lasciare asciugare le lame in acciaio inossidabile 7.6.
13IT8. Dati tecniciCon riserva di modifiche tecniche.Dati elettriciModello: SEM 250 A1Tensione di rete: 220 - 240V ~ 50HzClasse di protezione: II Pot
14 PTIndice1. Indicações de segurança ... 152. Material a fornecer .
15PT1. Indicações de segurança• Leia atentamente este manual de ins-truções antes da primeira colocação em funcionamento e siga impreterivel-mente as
16 PT• Não utilize o aparelho se este apre-sentar danos visíveis no exterior ou no cabo de ligação. • Para evitar quaisquer riscos, não altere o artig
17PT2. Coloque o alimento a cortar sobre uma superfície estável, plana e resis-tente ao corte.3.Pressione o botão de ligar/desligar 2 e o botão de se
Español ... 2Italiano...
18 PTEmbalagemSe pretender eliminar a embalagem, res-peite as respectivas normas ambientais em vigor no seu país.7. Solução de problemas Se o seu apar
19PT9. Garantia A garantia do seu aparelho é válida por 3 anos a partir da data de compra. O apa-relho foi fabricado segundo severas direct-rizes de
20 GBContents1. Safety information ... 212. Items supplied
21GB1. Safety information• Before using the appliance, carefully read through these operating instruc-tions and ensure you comply with the safety ins
22 GBnon-specialist. Repairs must be car-ried out by a specialist workshop or the Service Centre.• The appliance is not designed to be operated with a
23GB5. To stop the knife, release the On/Off button 2 or the child safety button 3.DANGER! The stainless steel blades 7 will run on briefly after the
24 GB7. Troubleshooting If your appliance fails to function as re-quired, please try this checklist first. Per-haps there is only a minor problem, and
25GB9. Warranty The warranty for your appliance is valid for 3 years from the date of purchase. The ap-pliance has been manufactured in accord-ance w
26 DEInhalt1. Sicherheitshinweise ... 272. Lieferumfang ...
27DE1. Sicherheitshinweise• Lesen Sie vor der ersten Inbetrieb-nahme diese Bedienungsanleitung gründlich durch und befolgen Sie vor allen Dingen die
Vista general / Panoramica / Visão geral / Overview / Übersicht 1 2345687__RP66727 Elektromesser_B5.book Seite 2 Montag, 30. Mai 2011 9:40 09
28 DE• Achten Sie beim Arbeiten mit dem Gerät darauf, dass Sie nicht in die Anschlussleitung schneiden.• Ziehen Sie bei Beschädigungen der Anschlussle
29DE• Zerschneiden Sie keine Speisen auf metallischen oder keramischen Ober-flächen. Dies kann die Edel-stahlklingen 7 beschädigen.1. Stecken Sie den
30 DE6. EntsorgenDas Symbol der durch-gestrichenen Abfalltonne auf Rädern bedeutet, dass das Produkt in der Europäischen Union einer getrennten Müllsa
31DE8. Technische DatenTechnische Änderungen vorbehalten.Elektrische DatenModell: SEM 250 A1Netzspannung: 220-240V ~ 50HzSchutzklasse: II Leistung: 2
,$1+R\HU+DQGHO*PE+.¾KQHK¸IH'+DPEXUJ6(0$B Ɇ,$153B(OHNWURPHVVHUB&RYHUB/%LQGG
2 ESIndice1. Indicaciones de seguridad ... 32. Volumen de suministro
3ES1. Indicaciones de seguridad• Antes de poner en marcha el aparato por primera vez, lea este manual de instrucciones detenidamente y, sobre todo, s
4 ES• Al trabajar con el aparato, tenga cui-dado de no cortar el cable de conexión.• Si detectara daños en el cable de conexión o en el aparato, saque
5ES4. Manejo¡PELIGRO! No toque el aparato con las manos mojadas.• Corte siempre hacia fuera del cuerpo, nunca en dirección al cuerpo.¡ADVERTENCIA! De
6 ES7. Guarde las hojas de acero fino 7 en la funda protectora.Las hojas de acero fino 7 se pueden lim-piar también en el lavavajillas.6. EliminaciónE
7ES8. Datos técnicosReserva de modificaciones técnicas.Datos eléctricosModelo: SEM 250 A1Tensión de la red: 220 - 240 V ~ 50 HzClase de protección: I
More documents for Knives Silvercrest SEM 250 A1


Related products and manuals for Knives Silvercrest SEM 250 A1


 (46 pages)
 (43 pages)
 (54 pages)
© 2020, manymanuals.com. All rights reserved. | 0.203 s |
 Manymanuals.com
 Manymanuals.de
 Manymanuals.fr
 Manymanuals.it
 Manymanuals.pl
 Manymanuals.cz
 Manymanuals.es
 Manymanuals-pt.com
Comments to this Manuals