Silvercrest STV 45 C2 User Manual
Browse online or download User Manual for Fans Silvercrest STV 45 C2. Silvercrest STV 45 C2 User Manual
- Page / 46
- Table of contents
- BOOKMARKS
- IAN 96066 1
- 1. Descripción del aparato 5
- 3. Datos técnicos 6
- 4. Indicaciones de seguridad 6
- STV45 C2 5 7
- 5. Desembalaje e instalación 8
- 6. Manejo 9
- 7. Limpieza 10
- 8. Eliminación 10
- Condiciones de garantía 11
- Alcance de la garantía 11
- Centro de servicio técnico 12
- Proveedor 12
- 1.1 Impiego previsto 13
- 1.2 Entità della fornitura 13
- 3. Dati tecnici 14
- 4. Indicazioni di sicurezza 14
- STV45 C2 13 15
- 4.4 Protezione da lesioni 16
- 5.1 Montare l’apparecchio 16
- 6. Funzionamento 17
- 7. Pulizia 18
- 8. Smaltimento 18
- 8.2 Imballaggio 19
- Svolgimento della garanzia 20
- Centro d’assistenza 20
- Fornitore 20
- 1. Descrição do aparelho 21
- 3. Dados técnicos 22
- 4. Indicações de segurança 22
- STV45 C2 21 23
- 5.1 Montar o aparelho 24
- 6. Operar 25
- 7. Limpar 26
- 8. Eliminação 26
- STV45 C2 25 27
- Service-Center 28
- Fornecedor 28
- Contents 29
- 1. Description 29
- 3. Technical data 30
- 4. Safety instructions 30
- STV45 C2 29 31
- 5. Unpack and set up 32
- 6. Operation 33
- 7. Cleaning 34
- 8. Disposal 34
- 9. HOYER Handel GmbH Warranty 34
- Scope of warranty 35
- Warranty process 35
- Service Centre 36
- Supplier 36
- 1. Gerätebeschreibung 37
- 3. Technische Daten 38
- 4. Sicherheitshinweise 38
- STV45 C2 37 39
- 5. Auspacken und aufstellen 40
- 6. Bedienen 41
- 7. Reinigen 42
- 8. Entsorgung 42
- 8.2 Verpackung 43
- Abwicklung im Garantiefall 44
- Service-Center 44
- Lieferant 44
Summary of Contents
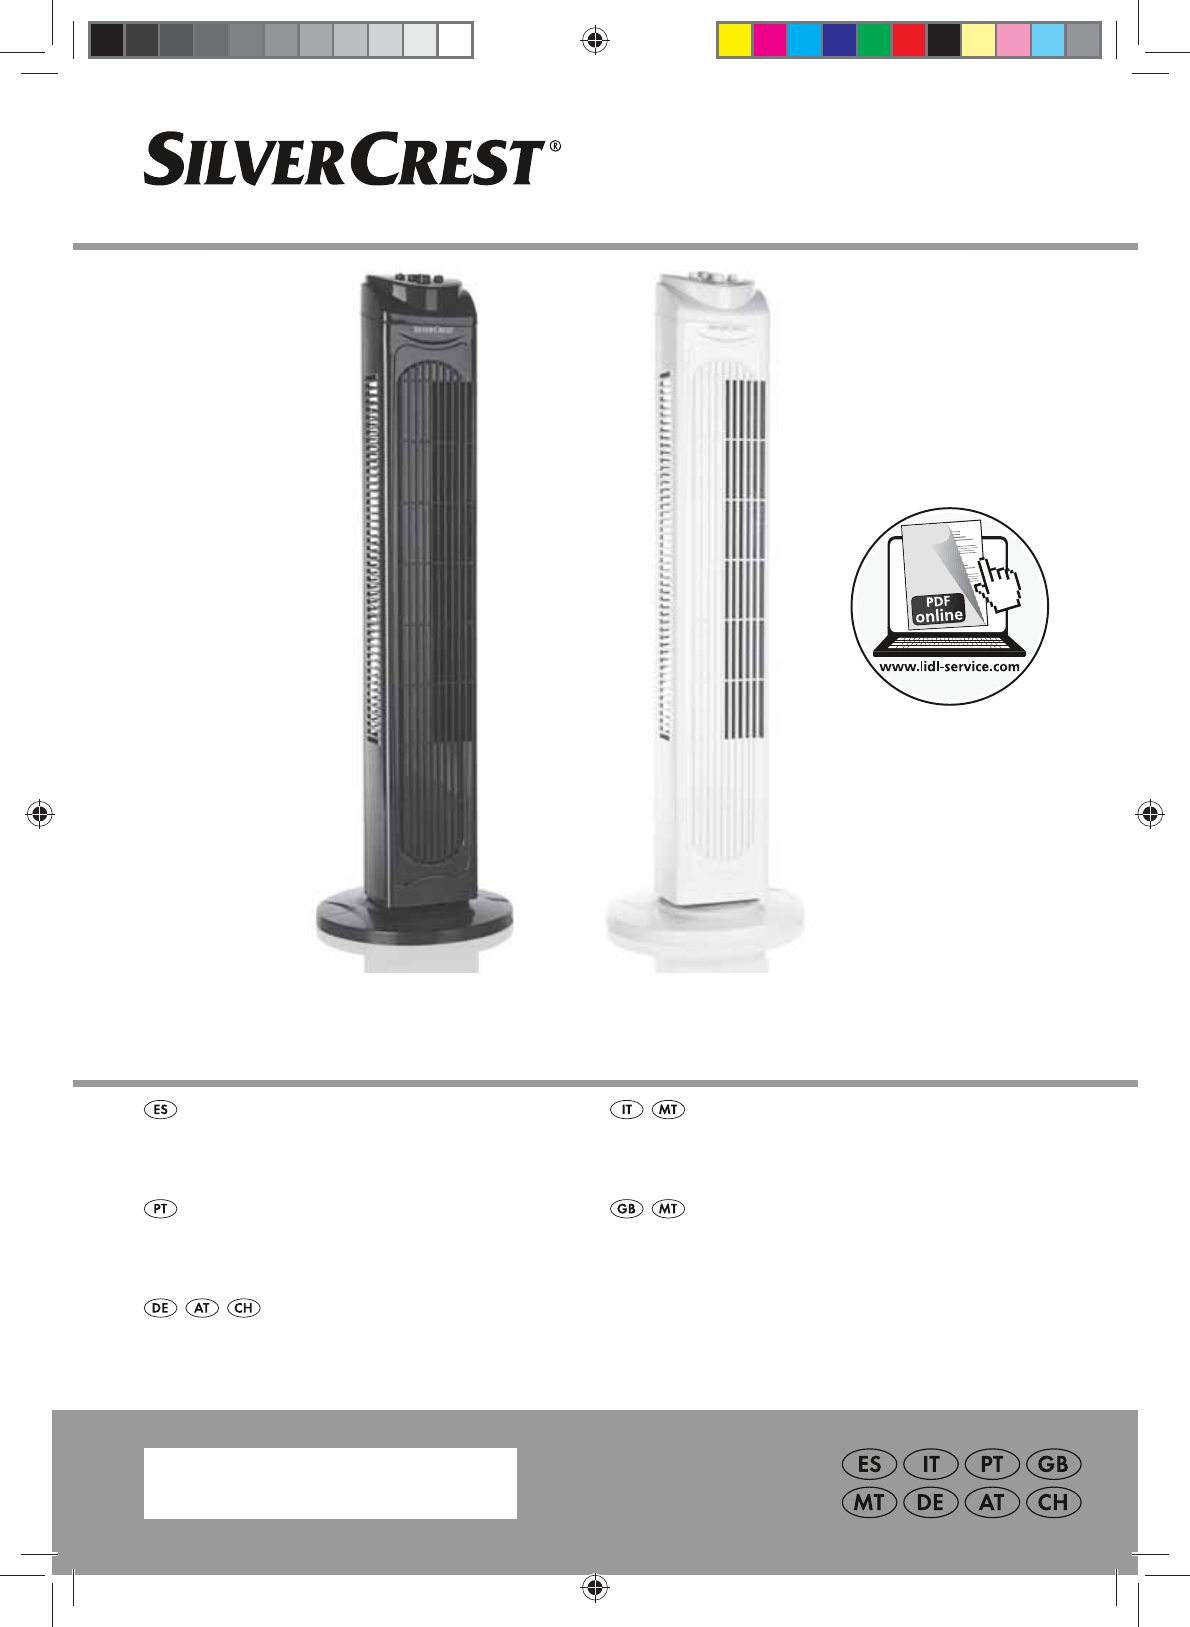
VENTILADOR DE TORRE STV 45 C2VENTILATORE A TORRE STV 45 C2IAN 96066 VENTILADOR DE TORREInstrucciones de servicio VENTILADOR TORREInstruç
87. LimpiezaPara poder disfrutar del aparato durantemucho tiempo, debe limpiarlo conregularidad. ¡Advertencia! Para evitar elriesgo de una descarga e
STV45 C2 99. Garantía de HOYER Handel GmbHEstimada clienta, estimado cliente:usted recibe una garantía de 3 años paraeste aparato a partir de la fech
10Desarrollo de un caso de garantíaPara garantizar una rápida gestión de suasunto, siga las siguientes indicaciones:• Para todas las consultas tengapr
STV45 C2 11Indice1. Descrizione dell’apparecchio . . . . . . . . . . . . . . . . . . . . . . . . . . . . . . . . . . . . . . . . . . . . . . 112. De
122. Denominazione dei componenti (vedere pagina ripiegata)1 Ventilatore a torre2 Interruttore rotante e timer3 Tasto 3: livello di ventilazione eleva
STV45 C2 13integrante dell’apparecchio e devonoessere disponibili in qualsiasi momento.• Utilizzare l’unità solo per gli scopiapplicativi descritti (
14• Tenete il cavo di allacciamento alla retelontano da superfici calde (p. es. piastradel piano cottura).• Se l’unità non viene utilizzata per lungot
STV45 C2 15Indicazioni: – L'anello filettato 12 alla consegna èavvitato al di sotto del ventilatore atorre;– Controllare che il cavo di collegam
161. Attivare il timer, mettendol'interruttore rotante 2 suuna posizione compresatra 0 e 120 minuti.Contemporaneamenteviene attivatal'alimen
STV45 C2 17consumo di materie grezze e soprattuttol'inquinamento ambientale. Rispettarescrupolosamente le disposizioni in materiadi smaltimento
Español . . . . . . . . . . . . . . . . . . . . . . . . . . . . . . . . . . . . . . . . . 3 Por favor, tenga en cuenta la página desplegable.Italian
18La garanzia decade in caso di utilizzoindebito e non conforme, uso della forza einterventi non effettuati dal nostro centrod'assistenza autoriz
STV45 C2 19Índice1. Descrição do aparelho . . . . . . . . . . . . . . . . . . . . . . . . . . . . . . . . . . . . . . . . . . . . . . . . . . . 192.
203. Dados técnicosAlimentação de tensão: 220 - 240 V~/ 50/60 HzPotência máxima: 45 WattClasse de protecção: I I4. Indicações de segurança4.1 Termino
STV45 C2 21Center. Os dados de contactoencontram-se no "Service-Center" napágina26.• O aparelho só pode ser instalado sobreuma superfície
22eléctrica (é proibido utilizar tomadasmúltiplas!).• O aparelho não pode ser operado comum temporizador externo ou com umsistema de controlo remoto e
STV45 C2 236. Operar6.1 Colocar o aparelho em funcionamento e desligar1. Insira a ficha de rede numa tomada derede que corresponda aos dadostécnicos
247. LimparPara que possa usufruir do seu aparelhodurante muito tempo deve limpá-loregularmente. Atenção! Para evitar o perigo dechoque eléctrico ou d
STV45 C2 25Condições da garantiaO prazo da garantia começa a partir dadata de compra. Conserve o talão decompra original, já que este é necessáriocom
26autocolante no verso ou na parte debaixo do aparelho.• Se ocorrerem falhas de funcionamentoou outros defeitos, contacte em primeirolugar o Service-C
STV45 C2 27Contents1. Description . . . . . . . . . . . . . . . . . . . . . . . . . . . . . . . . . . . . . . . . . . . . . . . . . . . . . . . . . .
7 41135621812109 RP96066 Tower-Ventilator LB5 Seite 1 Donnerstag, 10. Oktober 2013 11:14 11
283. Technical dataPower supply: 220 - 240 V~/ 50/60 HzMaximum power: 45 wattsProtection class: I I4. Safety instructions4.1 Terms usedThe following
STV45 C2 29• The appliance must only be set up on afirm, level, dry and non-flammablesurface.• Check that the power socket is easilyaccessible so tha
304.4 Protection against injuryWarning! To avoid injury, pleaseobserve the following information.• Ensure that it is not possible for anyoneto trip ov
STV45 C2 316. Operation 6.1 Start and switch off the appliance1. Plug the power plug into a power supplysocket which meets the technical datarequirem
327. CleaningTo ensure your appliance gives you lastingservice, you should clean it regularly. Warning! To avoid the danger ofan electric shock or bur
STV45 C2 33in a safe place. This is required as yourproof of purchase.If a defect in materials or workmanshipoccurs within three years of the date yo
34You can download theseinstructions and many othermanuals, product videos andsoftware from www.lidl-service.com. Service Centre Service Great Britain
STV45 C2 35Inhalt1. Gerätebeschreibung . . . . . . . . . . . . . . . . . . . . . . . . . . . . . . . . . . . . . . . . . . . . . . . . . . . . 352.
362. Benennung der Teile (siehe Ausklappseite)1 Tower-Ventilator2 Drehschalter und Timer3 Taste 3: starke Gebläsestufe4 Taste 2: mittlere Gebläsestufe
STV45 C2 37• Verwenden Sie das Gerät nur für denbeschriebenen Verwendungszweck (siehe„1.1 Verwendungszweck“ auf Seite 35).• Überprüfen Sie, ob die er
RP96066 Tower-Ventilator LB5 Seite 2 Donnerstag, 10. Oktober 2013 11:14 11
38• Achten Sie darauf, dass die Netzan-schlussleitung nicht durch scharfe Kantenbeschädigt wird. • Halten Sie die Netzanschlussleitung vonheißen Fläch
STV45 C2 395. Schrauben Sie den Standfuß 8 mit demmitgelieferten Schraubring 12 an derUnterseite des Tower-Ventilators fest.Hinweise: – Der Schraubri
40len. Gleichzeitig wird die Stromversor-gung eingeschaltet. 2. Um den Timer auszuschalten, stellen Sieden Drehschalter 2 auf „OFF“.Hinweis: Wenn Sie
STV45 C2 41entlasten. Informationen zur Entsorgung undzur Lage des nächsten Recyclinghofes erhaltenSie z.B. bei Ihrer Stadtreinigung oder in denGelbe
42Das Gerät ist lediglich für den privaten undnicht für den gewerblichen Gebrauchbestimmt.Bei missbräuchlicher und unsachgemäßerBehandlung, Gewaltanwe
RP96066 Tower-Ventilator LB5 Seite 43 Donnerstag, 10. Oktober 2013 11:14 11
HOYER HANDEL GMBHKühnehöfe 5D-22761 HamburgEstado de las informaciones · Stato attuale delle conoscenze ·Estado das informações · Status of informatio
STV45 C2 3Índice1. Descripción del aparato . . . . . . . . . . . . . . . . . . . . . . . . . . . . . . . . . . . . . . . . . . . . . . . . . . . 32.
43. Datos técnicosAlimentación eléctrica: 220 - 240 V~/ 50/60 HzPotencia máxima:" 45 vatiosClase de protección: I I4. Indicaciones de seguridad4
STV45 C2 5los datos de contacto en "Centro deservicio técnico" en la página10.• El aparato debe instalarse siempresobre una base fija, pla
6– En el tomacorriente no se debeanconectar otros aparatos que no seaéste, de lo contrario puede producirseuna sobrecarga de la red de corriente(¡se p
STV45 C2 76. Elija una ubicación que se ajuste a lasindicaciones de seguridad (ver"4. Indicaciones de seguridad" en lapágina 4).7. Conecte
More documents for Fans Silvercrest STV 45 C2


© 2020, manymanuals.com. All rights reserved. | 1.057 s |
 Manymanuals.com
 Manymanuals.de
 Manymanuals.fr
 Manymanuals.it
 Manymanuals.pl
 Manymanuals.cz
 Manymanuals.es
 Manymanuals-pt.com
Comments to this Manuals